Tile grades and product labels are meaningful only when the buyer knows which classification system, characteristics, intended use, and evidence they describe. For a project, compare the same size, finish, thickness, application, and documented properties across suppliers, then review color and dimensional variation with physical samples. The specification should also cover quantity, breakage allowance, batch continuity, packaging, and delivery so a technically suitable tile can be installed as planned.
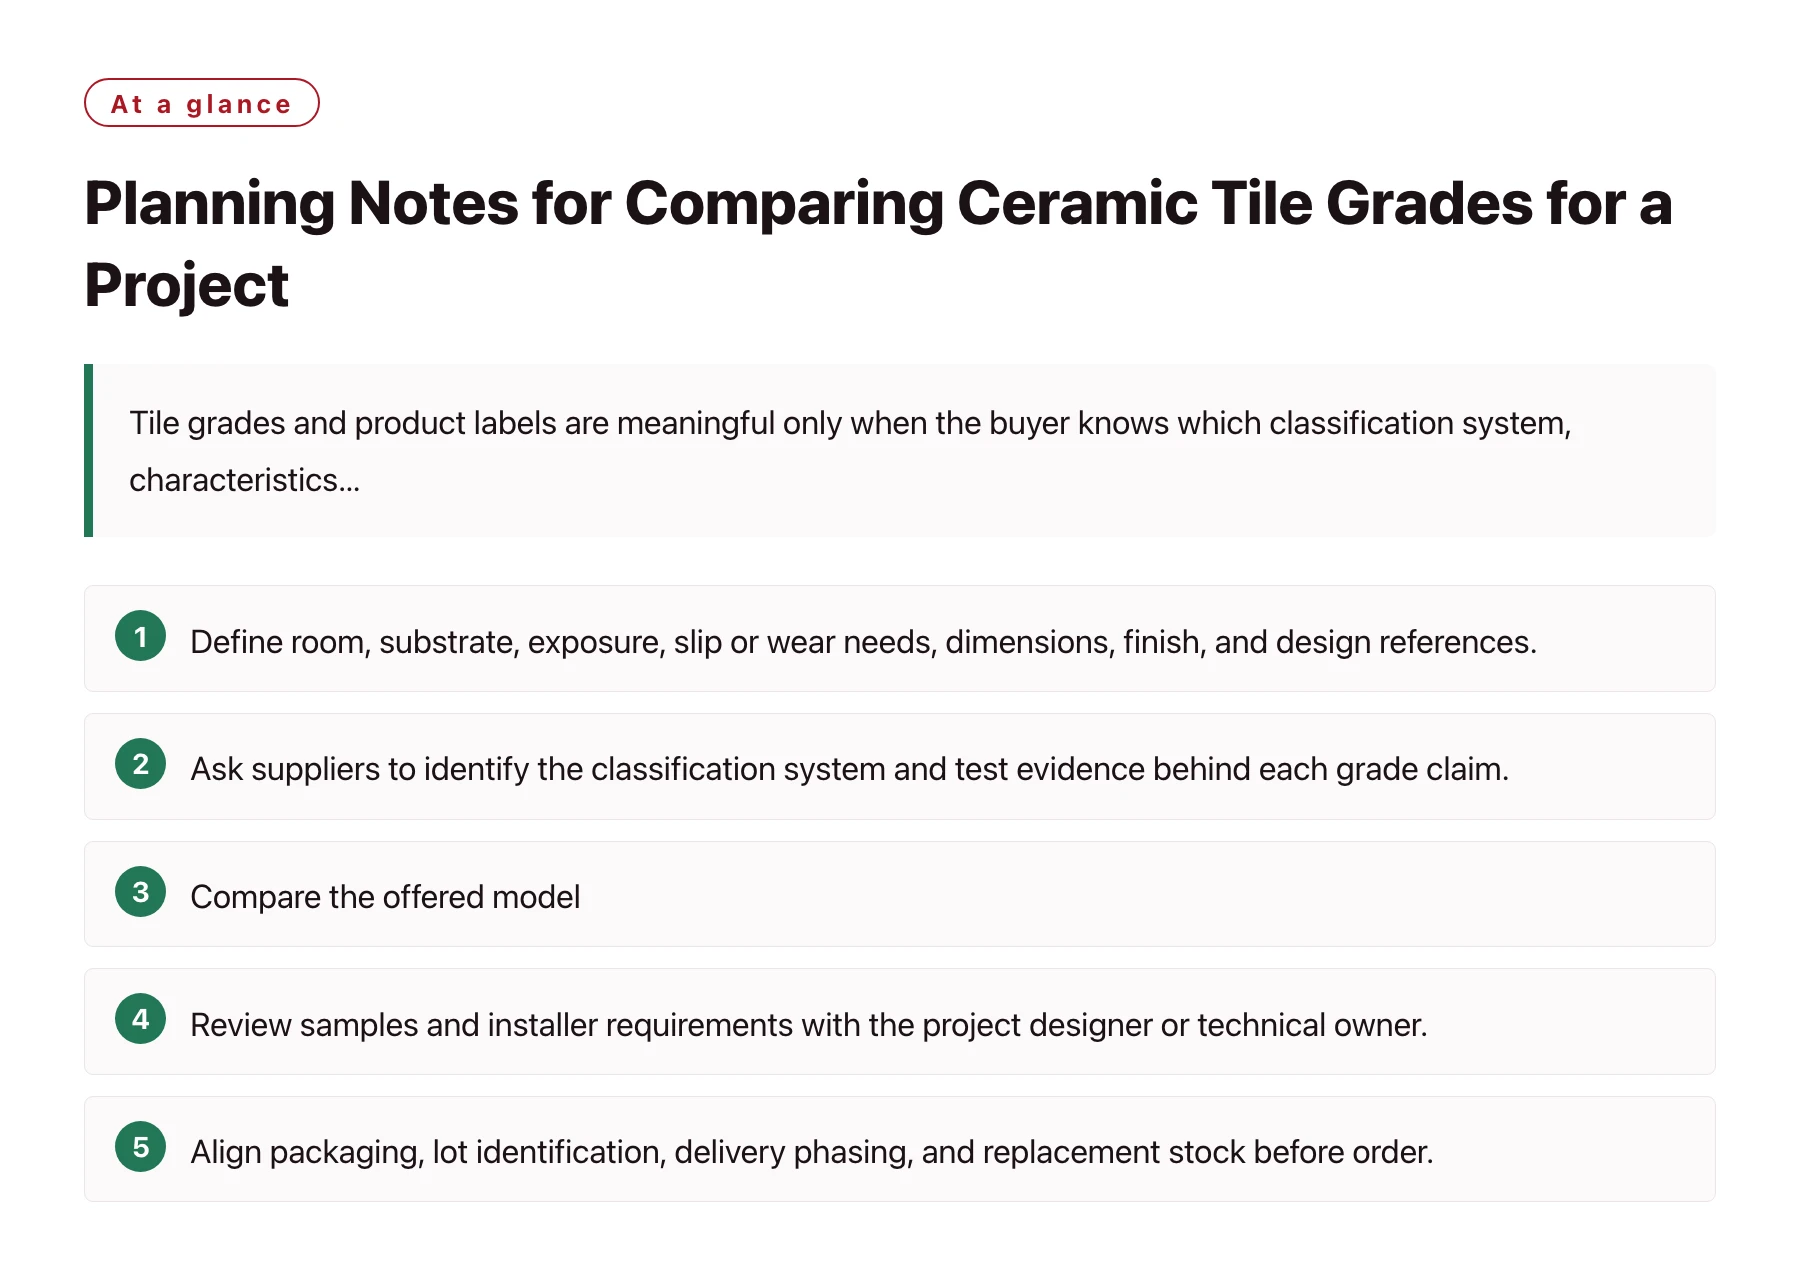
Key takeawaysDefine room, substrate, exposure, slip or wear needs, dimensions, finish, and design references. · Ask suppliers to identify the classification system and test evidence behind each grade claim. · Compare the offered model, batch, shade, caliber, surface, and available quantity. · Review samples and installer requirements with the project designer or technical owner. · Align packaging, lot identification, delivery phasing, and replacement stock before order.
Do not compare a grade name alone; map each offer to the actual performance and appearance requirements of the project.
Write the project use and selection criteria
List each installation area and intended use: interior floor, wall, wet area, exterior, commercial traffic, or another application. Identify the substrate, installation method, exposure, cleaning conditions, and project market. The designer, architect, or engineer should set the criteria for the particular project; a supplier’s general catalogue category does not establish suitability for every location.
Specify nominal size, thickness, edge treatment, finish, color, pattern, and any rectified or calibrated requirements. State which characteristics are mandatory and which are aesthetic preferences. Include grout joint assumptions and installation tolerances where they have been agreed with the installer. Separate field tile from trims, corners, steps, mosaics, or special pieces because classification and product evidence may differ.
Buyers sourcing building materials wholesale sourcing should give every supplier the same project brief and request deviations in a separate schedule. Ask for a proposed product reference, current technical sheet, sample, and evidence matched to each line item. This avoids comparing one manufacturer’s standard tile with another’s premium or custom configuration.
Decode the classification and grade terminology
Ask what the supplier means by “grade,” “first quality,” “porcelain,” “full body,” or another commercial term. Request the named standard, classification, edition, product type, manufacturing method, and any applicable exclusions. Similar labels can be used differently across markets or vendors, so write down the underlying characteristics rather than relying on a shorthand grade name.
ISO 13006:2018 defines terms and establishes classifications, characteristics, and marking requirements for ceramic tiles within its stated scope; it also refers to the ISO 10545 series for test procedures. The standard has product and process exclusions, so a buyer should confirm applicability and current project requirements with a qualified reviewer. [1] A reference to a standard should identify the exact product and evidence, not function as a broad quality badge.
For destination-market or code requirements, have the project compliance owner determine which rules apply. One classification may not address every property needed for a particular installation. Ask suppliers to state which characteristics are declared and which were not tested or are outside the document’s scope.
Compare technical evidence characteristic by characteristic
Request reports or declarations that identify manufacturer, product code, sample description, dimensions, finish, test method, laboratory or issuer, test date, result, and limitations. Match each record to the exact offered tile. A report for a similar size, finish, or production family may not cover the requested variant. If different product lines share a trade name, ask for a model-to-report cross-reference.
Select the performance characteristics that matter to the use and have the design professional define acceptable levels. Depending on application, review water absorption, breaking strength, abrasion, slip-related characteristics, chemical resistance, frost suitability, dimensions, or other declared properties. Do not infer that every feature is required in every project or that one result predicts another characteristic.
Check the test method and interpretation. A summary table can make offers comparable, but retain the original records and any notes about sample preparation or test conditions. If the project requires a specific test, ask whether the supplier’s evidence uses that method and whether the tested specimen represents current production. Resolve gaps before purchase rather than treating an unreported value as satisfactory.
Evaluate appearance, shade, and dimensional variation
Request physical samples from the proposed production line and compare them under consistent lighting with the selected finish board and surrounding materials. Review surface texture, gloss, color range, veining, edge quality, and print repeat. For patterned or natural-look products, review several pieces together; one tile cannot show how a full field will read. Photograph the sample set and record which piece or range was accepted.
Ask how the supplier identifies shade and caliber and how these codes appear on cartons. Confirm the tolerance and sorting approach with the installer. If a project requires visual continuity across rooms, coordinate batch allocation and retain labeled reference pieces. Do not assume a later order will match an earlier lot exactly; ask about production planning and reservation of sufficient quantity.
Inspect rectified edges, bowing, warpage, and dimensional spread using criteria selected by the project team. Installation results depend on product geometry, substrate, setting materials, layout, and workmanship. If the designer or installer needs a particular joint width or laying pattern, obtain technical review of the offered tile and communicate those constraints before order.
Check sample and mockup decisions
Record each sample’s supplier, product code, dimensions, finish, shade or batch, date, and source. State whether it is a catalogue sample, production sample, or custom mockup. Identify the reviewer and the characteristics approved. A designer may approve appearance while a technical owner still needs to review performance documentation or an installer needs to confirm handling and layout.
For a large or high-visibility area, a mockup can reveal pattern scale, joint appearance, edge treatment, transitions, and interaction with lighting and adjacent finishes. Agree its size, substrate, grout, laying method, acceptance participants, and how the approved result will be documented. A display board without installation context cannot answer every site question.
Keep approval conditions explicit. If a sample is approved subject to matching a specified range, receiving a current test record, or confirming an installation detail, track that item to closure. Do not let an early sample approve a later substitute finish or product code without review.
Normalize quantities, price, and delivery basis
Compare supplier quotations using the same tile code, grade or declaration, size, finish, quantity, packaging, destination, and delivery point. Separate tile price from trims, accessories, samples, pallets, custom labeling, breakage allowance, inspection, and freight. Ask whether the price is per piece, carton, square meter, or other unit and how conversion is calculated.
Calculate the project requirement with the estimator or installer, accounting for layout, cutting, breakage, attic stock, and future maintenance according to project practice. Confirm carton coverage, pieces per box, gross weight, pallet count, and whether lots can be reserved together. Do not let a supplier substitute a different dimension or pack quantity without updating the comparison.
State the delivery term and exact place in the purchase documents. Confirm who arranges collection, export handling, transport, insurance, import clearance, destination unloading, and final site delivery. Check site access, unloading equipment, delivery appointment, and storage capacity. A quote based on port arrival is not directly comparable with one delivered to a project warehouse.
Plan packaging, batch control, and receiving
Specify corner and surface protection, separators, carton strength, palletization, moisture protection where needed, and marks showing product code, size, finish, shade, caliber, quantity, and lot. Review a packed sample if handling damage or identification errors could disrupt installation. Ask suppliers to provide carton dimensions and stacking information for logistics planning.
For phased construction, map lots and delivery dates to zones, floors, or installation sequence. Decide whether goods will be held at the factory, warehouse, or site and who is responsible for condition monitoring. Keep reserve cartons from the same production batch where possible and label them for future replacement. Avoid mixing unidentified batches during consolidation.
At receipt, reconcile quantities and codes with the purchase order and packing list. Inspect representative cartons for visible damage, moisture, broken pieces, shade mismatch, and label clarity before installation begins. Photograph discrepancies and record affected lots. The buyer, installer, and supplier should agree how shortages or damage are reported and which party can authorize replacement.
Make the selection traceable
Use a comparison matrix with requirement, supplier offer, evidence, sample decision, price basis, lead time, exclusions, open issue, and reviewer. Mark each criterion as accepted, not applicable, failed, or awaiting evidence. A weighted total can help rank suitable offers but should not hide a mandatory gap in performance, documentation, quantity, or appearance.
Before placing the order, freeze product codes, classification claims, approved samples, batch or shade expectations, technical records, packaging, delivery sequence, and change process. Name who approves substitutions and how revised evidence will be reviewed. This record gives procurement, design, site, and receiving teams one reference.
After installation, record breakage, shade variation, dimensional issues, delivery accuracy, and any maintenance concerns. Tie observations to supplier, product code, batch, installation area, and available evidence. Use project results to improve later selections without assuming one shipment represents all tile products from a supplier.
Sources
Frequently asked questions
Does “first quality” mean the same thing for every tile supplier?
Not necessarily. Ask which classification system, applicable product scope, edition, characteristics, and evidence support each supplier’s “first quality” description.
Can a test report for one tile size cover every size and finish?
Only if the report’s scope covers those variants. Check the tested product identity, dimensions, finish, method, date, and any stated limitations before applying it.
Why should shade and caliber be recorded?
They help identify production variation and organize cartons for visual continuity and installation. Confirm coding and acceptance with the project team.
How much extra tile should a project order?
The estimator or installer should determine quantity using layout, cuts, breakage, reserve stock, and project practice, then confirm the supplier’s carton units.